Wednesday, December 29, 2010

Bacon Wrapped Jalapeño Peppers

The new year is right around the corner....that means FOOTBALL.  I am not much of a football fan but I love football food.  I love nachos, hot wings, and bacon wrapped jalapeño peppers.


You will need
1.  Caned (hot) and jar (not hot) jalapeño peppers.
2.  Tooth Picks
3.  Cream Cheese
4.  Bacon
5.  Oven pans 2 one broiler pan to allow grease to drip and one for cooking bacon.  I like using silpat on a cookie sheet.

1.  Open your peppers and drain your juice off.  (reuse the juice)
2.  Slice the peppers in half and deseed....
3.  Once the peppers are finished add cream cheese

4.  Pre Cook the Bacon in the oven take out before Crispy.  Don't forget to use a  pan to allow the grease to drip.    Place on a papper towel under and over the bacon to remove some of the grease.....As you can see the bacon isn't CRISP.  but it will be.
5.  Wrap your peppers in the bacon and secure with a toothpick.  You will place them back in the oven to finish cooking.  Use a pan that will allow the bacon grease to drip below if you don't your peppers may smoke a bit, and sit in grease.  I have cheated and used pre-cooked bacon you find at the store and it was just as good.  So if you want to cheat....it is okay it is just expensive.  The photo below is the pan I used to take the peppers to a party.  One pan is hot peppers, and one is not hot.  


I was able to make about 20-30 peppers for each can or jar.  I love these so much I never order from a restaurant ...they do not make them as good as I do....LOL

If you make these leave a comment I would love to hear what you think.  I have been working on this recipe for years...I have to tell you these are NOT greasy.  I have used turkey bacon as well.

Sunday, December 26, 2010

Breaking Dawn Christmas Tree

Breaking Dawn Director Bill Condon today tweeted this picture of The Swan’s house decorated for Christmas (taken by Andrew Cooper), with this message: “Happy holidays from the Swan home to yours” – Bil


Thanks Bill, Thanks for posting the photo.


Monday, December 13, 2010

Handmade Twilight Ornaments


I made these handmade photo ornaments for my Twilight tree this year for a VERY low price.
These would be perfect for for any image you need on the inside of this wreath.  
A photo of your favorite show or Characters, Photos from your past, Of your fav. sports team, or show your Team Spirit.  For your best friend, of your pet....Whatever you hold dear.  I would love to see your projects if you do this craft.  Please email to me....post a link in the comment, or in our flicker group


Materials you will need.
1.  Small Grapevine Wreaths.  I purchased these on a half off sale at Hobby Lobby.  
75 cents.  (6 came in a package GREAT DEAL)

2.  Ribbon

3.  Decoration....I purchased pine cones and the berry's on the holiday isle for .50 cents a package.  I had PLENTY left over.

4.  Twilight Round Stickers.  I purchased these at walmart.  Hallmark brand stickerroni  I found them on the gift wrapping isle.  

5. Modge Podge Dementional Magic.

6.  Monofiliment thread or think string or thread...

I only made 4 ornaments...so I only used one sheet.  I took a sticker and attached it to a piece of cardstock.  I trimmed the around the sticker and then attached a sticker to the back.  

I then added modge podge dimensional magic to one side and of each sticker allowing it to dry over night.

To make the wreaths I used a glue gun to attach the pine cones, ribbon, and berry's.  

I waited overnight and turned the sticker over, and added more modge podge to the opposite side and allowed it to dry overnight.

Once all dried...I took an upolstry needle and threaded monofilliment thread the hole like you would a necklace. Then I gathered the 2 strands together and added 3 beads and attached the monofilliment and tied it to the grapevine wreath so it dangled inside.  


Here are some close ups of my Ornaments.  


Saturday, December 11, 2010

Easy Vampire Gift Idea

I have seen these spoon Crafts around for quite sometime.  Mostly at weddings.  I recently purchased some Hershey Kisses  cherry.  YUMMY.  It is YUMMY.  The thought crossed my mind it would be a great idea to use as a party favor for a VAMPIRE theme.  (choclate that has a bloody inside)  Just a note...the Cherry cordial M&M's just as Yummy

So I vamped up the spoon kiss party favor.  Perfect for a party favor, emblishement for a gift or handmade card, or just a cute little gift from one friend to another.  Sometimes the simplest things can make a persons day.


Materials Needed.
Plastic Spoons.  (red, white, or black whatever color your need)
ribbon of your choice
Sandwich bags or scrap basket wrap or tulle(that tutu fabric)
Hershey Kisses


1  .Place 2 Hershey Kisses or Hugs in a spoon.
2.  Place the spoon in the sandwich bag and push it in a diagonal
so that it is int the bottom corner inside the bag.
3.  Tie a ribbon to secure the bag to the spoon.  Make sure it is tight enough so the kisses will not move.
4.  The decorate as you wish.
5.  Add a tag if you wish.

AS always if you complete the craft I WOULD love to hear what you have to say about my instructions and see a photo of your creation, and any suggestions on how to improve upon it.  Leave a comment in below with a link to your Project, or email me....OR Add it to our Flicker group

Tag Ideas
A spoon full of Bloody Kisses from (Eric, Bill, Spike, Angel You get the idea pick your fav. Vamp)
A spoon full of Kisses from Edward
A spoon full of Hugs from your Best Friend Jacob
Something to Sink Your Teeth into.
A spoonful of V
BITE ME.
EAT ME (Alice in Wonderland)

Who needs a man when you have a spoonful of Chocolate
A spoonful of chocolate is better than a Man.
A spoonful of Chocolate doesn't leave the toilet seat up.

In this spoonful of love, 2 kisses you will see..
One is from Santa ( OR Edward, Bella, Jacob, Sookie, Bill, Eric, Sam), the other is from ME.

Here is a close up of my creations.  If I were wanting to make a Fangtasia spoon.  I would purchase Black spoons.  And use a lace....or something that looks like fishnet stockings....or black tulle...and write a card that says....Have a Fangtastic (birthday, Christmas....you get the idea.) but put a small photo of Eric on the Tag.  or PAM....whatever floats your boat.  They are both hot.

The green tag has Mint Chocolate kiss.  You can use wording to play off of that....like.
I was MINT for.....(Edward, Jacob, Eric, Sam or Bill)
We Were Mint for each other...
Bella + Edward Mint for each other.


Friday, December 3, 2010

Killer Christmas Stocking

Christmas isn't my favorite time of the year.  I do like pretty lights on the houses....but I get over it after a while.
I made a funny stocking this year to see if it would be easy to add Cross Stitch cloth to the top of a stocking as a gift idea.  I have to admit....NOT TO BAD.

To add the 14 point Cross Stitch fabric.  I used a bas tape and sewed it to the outer lining before attaching the back lining fabric.

I used a Cross Stitch fabric that was on a roll.   That made the fabric roll a bit.  I didn't back the CS fabric, and I didn't add a cuff of any kind to the back....DID THAT MAKE ANY SENSE?


I found the stocking tutorial here.  http://stashmanicure.blogspot.com/2010/12/scrappy-stocking-tutorial.html
I made my own pattern...(for a stocking I already had.  .Instead of doing the swirly design on the quilting.  I used my sewing machine to follow the lines of diffrent fabric.  I really had fun with this....I AM NOT THE BEST AT SEWING.  Maybe because I don't have any patience.

1.  I used cut the sewed each strip together and pressed the seam with an iron after each strip was completed. 2.  I Just sewed all sorts of weird angles.  As long as I could press the seam strait.
3.  I then used my pattern and turned it a bit sideways that is what makes the stocking look they way it does...

The back fabric is just a plain RED & Black Fabric and the lining is black.
=
I also love this stocking tutorial. http://www.makeit-loveit.com/2009/12/christmas-stockings.html

Here is a blog with tons of different tutorials for stockings.  I want to see your Vamped up or EDGY stockings...don't forget to show them off...http://www.tipjunkie.com/christmas-stocking-tutorials-ideas/

Here is our flicker group http://www.flickr.com/groups/1522016@N23/


Sunday, November 28, 2010

Twilight Forks Ornament


I saw these on several sites.  It is an inexpensive fun way to Twilight up your favorite tree.

Materials. (I made 12 forks for about $4)
Plastic forks
Ribbon.  I used Black and white Gingham.  I also used red, black, and white Ribbon.  I had some scrap tulle I used as well.

If you wish you can use a fine tip black sharpie marker to add wording to the handles of the forks.   I used those ornament hangers on the back of the fork to hand it.  If you make some of these post in our flicker group or link to your blog in a comment.  http://www.flickr.com/groups/1522016@N23/


Twilight in Forks Christmas Tree

It was a tough decision.  My 2010 Vampire Theme Christmas Tree this year is a Twilight in Forks Christmas Tree.

I started off with the Red Ribbon Garland.  I also have a white snow bead garland, and a small red beaded Garland.

I then added Red, Black, and White ball ornaments.  I had some white icicle looking ornaments left over from a previous holiday tree.

I have added the stem feathers for the top.

The FORKS are handmade.  I was inspired by a tree I saw on the web, and I thought it would be neat to try it.


All of the ornaments were under $10.  I purchased them from Hobby Lobby, currently all of their ornaments are 50% off. You should be able to find these mini ornaments at any store.

The tree was a pencil tree that is 3ft tall.  I would prefer a different tree, but I used what I had.

See this previous post for some ideas on your tree.  http://vampirecraftin.blogspot.com/2010/11/vampire-christmas-tree.html

Tuesday, November 23, 2010

Vampire Christmas Tree

Okay this year I have a small tree that I am going to VAMP out for the holidays.  I haven't started on it yet but there are so many low cost options...I am in the process of making a decisions  .It is going to be hard for me to choose.  Here are my options.  If you have a Vampire Themed Tree I want to see.  Post the link in a comment or just email me....at vampirecraftin (you know the drill) gmail.


Red, Black, White Twilight Tree.
Here are some ideas...
1.  I suggest Starting with a White Pre-Lit Tree.  The size depends on what space you have. A Green tree is nice as well.  I have seen black and red trees.  
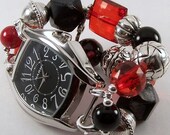
2.  Black or Red Christmas Ornaments.  I was able to find packages of a dozen from $1 to $7
3.  Red Ribbon Garland or Black and White check ribbon.  
4.  Apple ornaments.
5.  Fork Ornaments.  See post tutorial for more info
6.  Photo Frame Ornaments for your Favorite photos.  Frame your Favorite Characters/scenes or copies of the book covers. (not for resale, don't break copyright) They sell twilight stickers.  
7.  Lion & Lamb Ornaments.  I saw some at Hobby Lobby for less than $5 
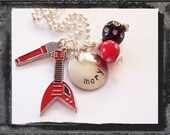
8.  Chess piece ornaments
9.  Wolf ornaments
10.  Paw prints meant for a pet.....use for team jacob.
12.  Feathers.
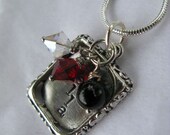
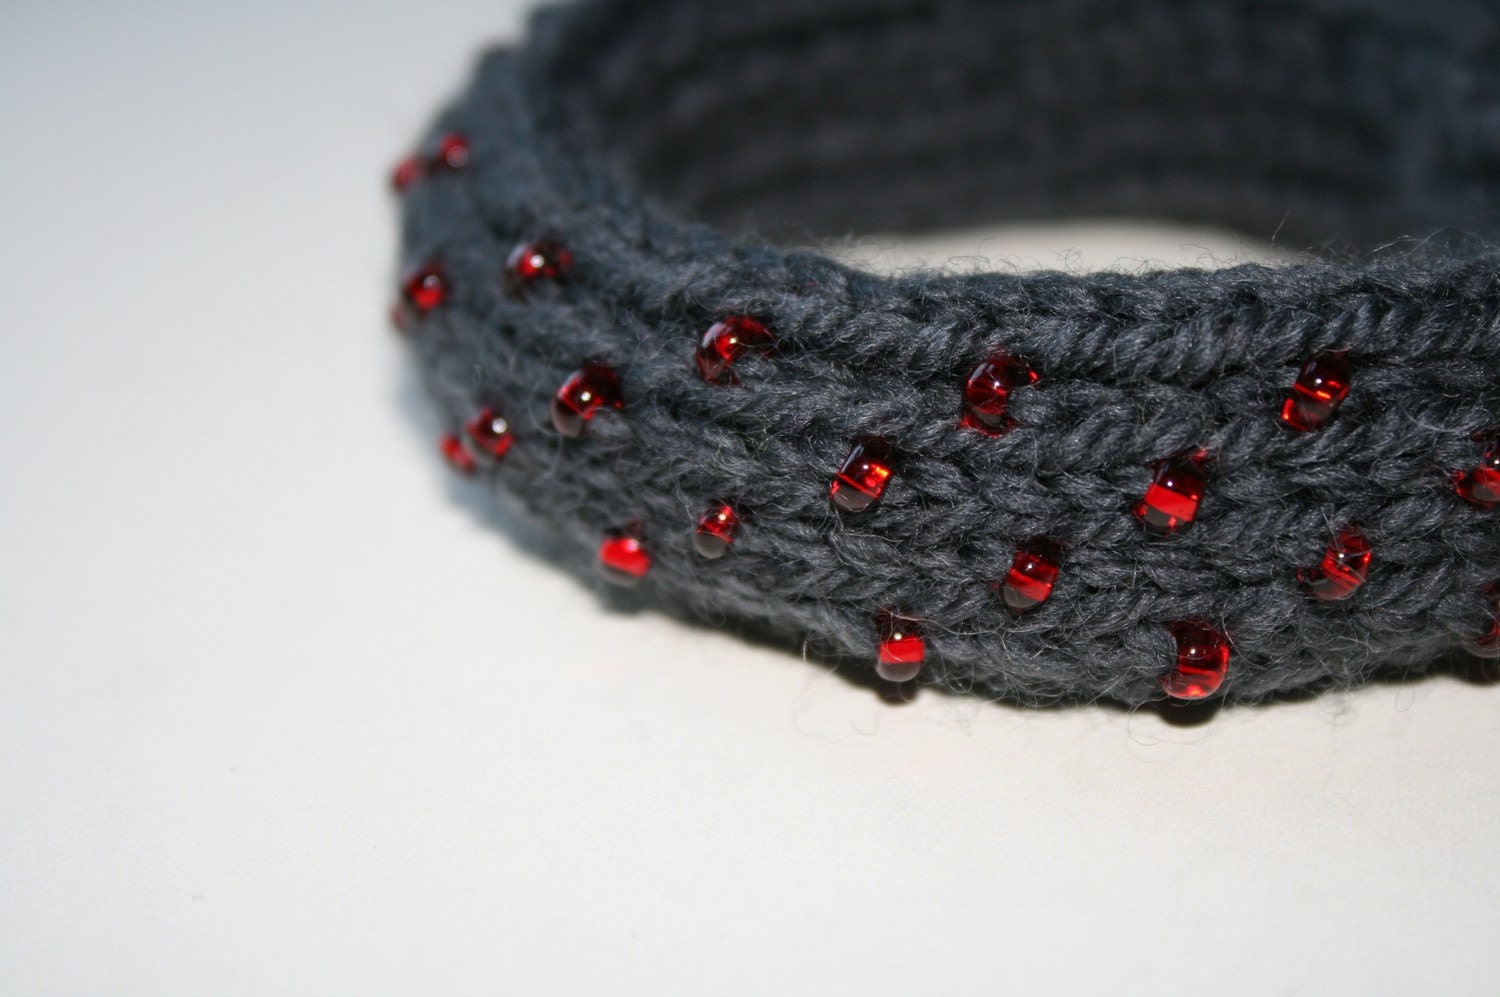
13.  Heart shaped crystal hearts.  
14.  Tissue or altered Flowers to look like the tulips on New Moon Book Cover. (will post a tutorial later.)


Team Jacob Christmas Tree.
The key is to make your tree look like your gathered your tree trimming from the forest. 
1.  Pine cones.  (the have scented ones)
2.  Winter Berries.
3.  Pieces of wood cut in small circles and painted with your images. or words....or leave it as it is. (will post a tutorial.  
4.  Dream Catchers....
5.  Small Grapevine Wreaths.
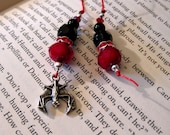
6.  Wolves.


Here are some Photos of my Favorite Twilight Trees.  

Vampire Dairies Tree
1.  Black Crows
2.  Red Ribbon Garland, Black Ribbon Garland, or White Garland. Red or black De-mask Ribbon
3.  Wolf Ornament (see twilight tree)
4.  Photo Frame Ornaments for your Favorite photos.  Frame your Favorite Characters/scenes or copies of the book covers. (not for resale, don't break copyright) They sell twilight stickers.  
5.  Silver Heart Ornaments.
6.  Cross Ornaments.
7.  Crystal Dangle Christmas Ornaments.
8.  Masquerade Masks.
9.  Red, black or white Christmas balls
10.  Red Berry garland.  
11.  Witches hats.  


True Blood Christmas Tree.
Merlotte's Theme.
Green Tree
Green Lights
Green Christmas balls....(you can handpaint with Merlottes logo)
Beer bottle tops strung on garland or string.
BEER or Alcohol themed ornaments.


Fangtasia Themed Tree.  
1.  Black Tree
2.  Black Ornaments Balls....with drips of blood (will post a tourtial later)
3.  Fangtaisa Logo printed and put into photo frames.
4.  Test Tubes full of fake blood.  
5.  Red feather Boa as your garland.
6.  Black ball ornaments covered in Red Lace and Red Crystal Drops.  (Will post a link)
7.  Check the clearance isle for small Halloween coffins. 
REMEMBER to keep in mind Gothic.  The theme of the bar is to use all of the "stereotypes" one would think of when entering a Vampire Bar.....Embrace the stereotypes.   

BUFFY Themed Christmas
I love the purple, and black color theme for Buffy.
1.  Stakes.  Mr. Pointy. ( make your own....widdle a stick?)
2.  Crosses.
3.  Holy Water (use kids craft sand bottles)
4.  Cauldron (for willow)
5.  Small Glasses for a doll for Giles
6.  Small frames to use for photos of your favorite Buffy character or scenes.  
7.  Key for Dawn.
8.  For Garland use anything 
9.  Small Simple Angels
10.  Rail Road Spikes.
12.  Axes
13.  Cross Bows.
14. A key for Dawn..
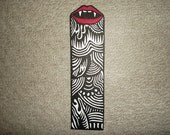
15.  Black Roses.  (Remember when Angel Gave Buffy Black Roses)


Here are some photos I took in stores.  These photos below are of the frames.  
The prices range from $.99 to $5.99.


Here are some ornaments.  If you can't find some Black, White or Red ornaments....
You are not looking hard enough.


This one was at Wal-Mart for .99 cents to $2.99